
Top Photos to Take Before Leaving the Hospital with Your Newborn Baby
The days following the delivery of your baby will be one of the most surreal and magical times as a parent. Taking the time to capture as many of these precious moments is something you will cherish for years to come.
When it comes to taking photos, you’d be surprised how great of photos you can take with your phone. So before we jump into photo inspiration, here are some tips on how you can take great photos with your phone.

How To Take Better Pictures with your iPhone
Lighting
This is the foundation for any good photo, iPhone or DSLR. Natural light trumps artificial light any day of the week.
Take a look at the two photos below. One was taken at night with overhead light and one was taken with my baby’s face turned directly towards a window.


Isn’t it amazing what natural light can do? So open up those hospital windows and let in some light!
You’ll be surprised how big of a difference it can make!
Natural light doesn’t necessarily mean DIRECT sunlight. This can lead to shadows being created (mainly on faces) and may encourage your baby to close their eyes, which is the opposite of what we want.
When it comes to flash, avoid at all costs. In my experience, it is easier to edit a slightly darker photo by adjusting the brightness than it is to doctor an overly lit photo with a flash.
In the case that your lighting isn’t ideal, check out the section below that offers details on editing!
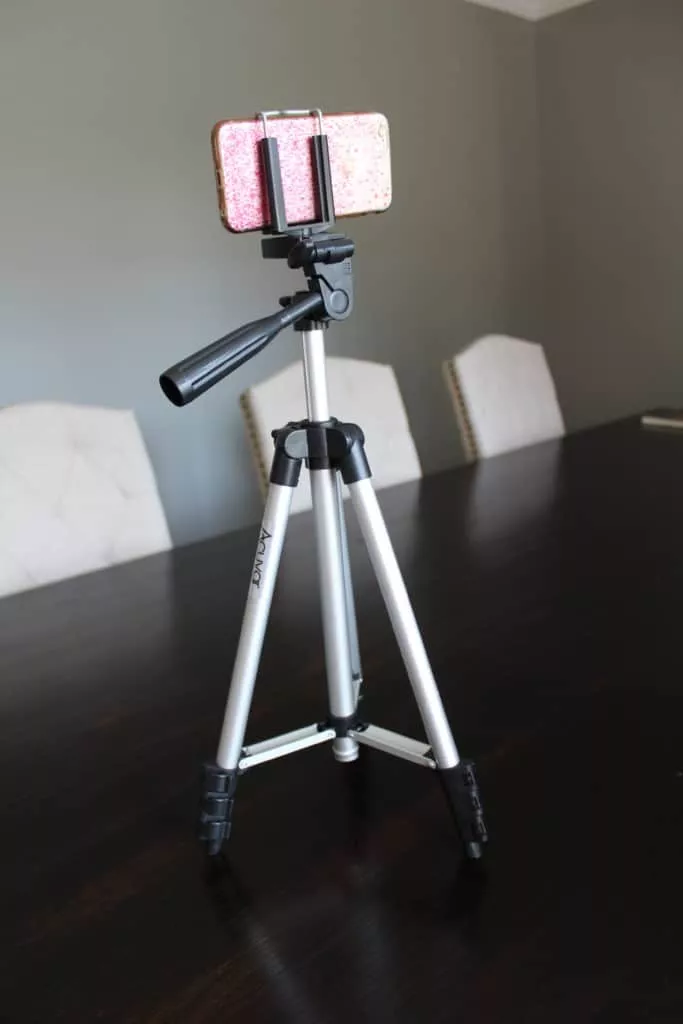
Use a Tripod
Many nurses will be willing to take photos for you. But in the case that you want to get photos of you, baby and dad, a tripod is a great way to set up a photo of the three of you.
I ordered the tripod below for Amazon for a great price. It folds up super small and comes with a little carrying pack. You just snap your phone in and set the timer! If you need a longer timer, I suggest the Timer Cam app (free!) You can find the tripod here on Amazon.
(Note: the photo above was taken using my DSLR, facing a window, on auto and ZERO editing! So if you are really looking to take better photos, consider buying a Cannon Rebel t6! I doubt you will ever pay for a professional photographer again!)
Focus
Your iPhone is completely capable of creating a “blurred background”, you just have to learn how to maneuver it.
First of all, play around with the yellow box. When you have your camera open, touch the screen and move the yellow focus box over your desired object. Always try to move your desired subject as far away from the background that you want to be blurred. If you have your daughter stand directly in front of a flowering bush, your camera doesn’t have enough room to work with. Try having her stand 2-3 feet in front of it instead. If you have a newer iPhone, shoot in portrait mode to get the blurred background.
If you want to achieve an even heavier blurred background, see the editing section below.
Rule of thirds
Step one to mastering the rule of thirds- turn on your camera grid!
You can do this from settings>Camera>Grid ON!
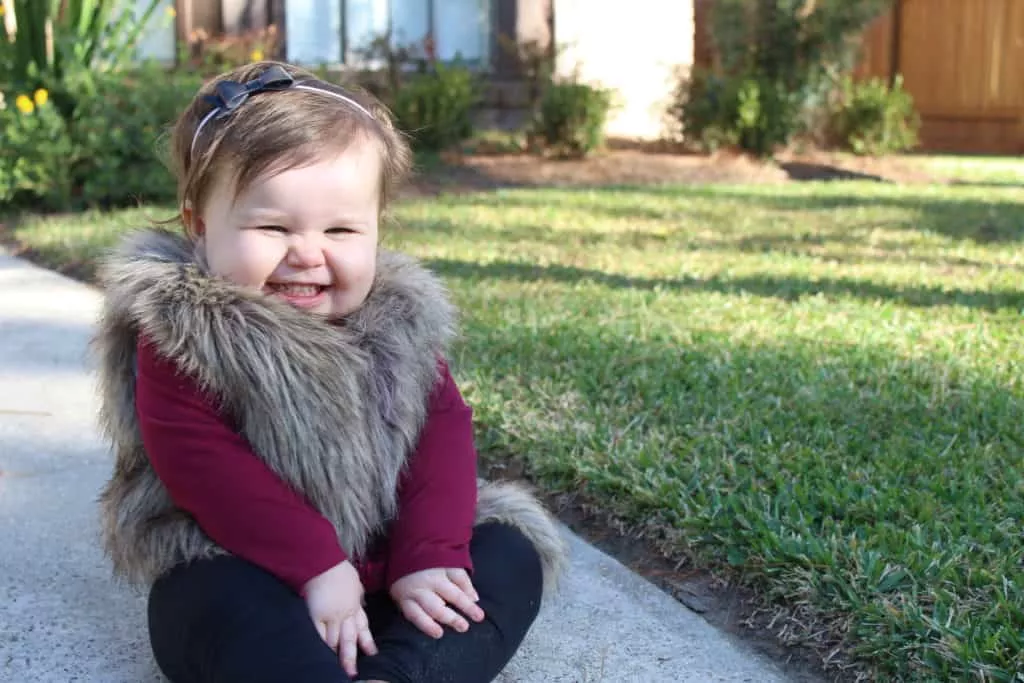
The grid will divide your screen up into thirds. You will notice that there are four places on the grid where the lines cross and make a point. Aim to make one of these your focal point of the photo. For example, in the photo below, Emmy’s face is in the top left connection point.
This rule simply makes your photos more appealing than if your subject was dead center. It isn’t always easy to get kids to stay perfectly still, but when you can, aim for the rule of thirds!
Editing
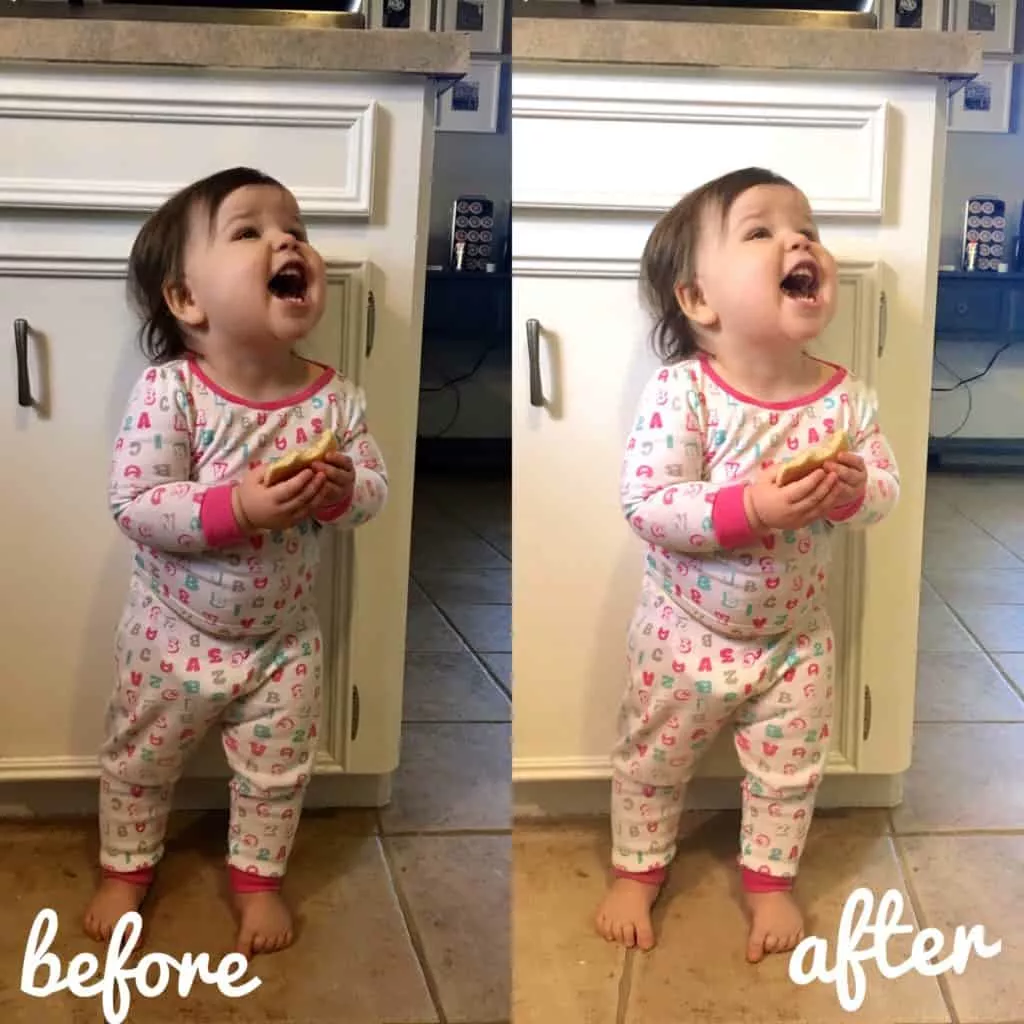
Most of my iPhone photos need some sort of cropping and color editing.
My favorite tool to use for this kind of editing is Snapseed (free!!). My goal when editing photos is to make them bright, airy, and vibrant. I mainly work within the “tune image” setting. Here are some of my go-to adjustments:
- Increase Brightness
- Increase Highlights
- Decrease Shadows
- Increase Saturation
How much I am adjusting depends on the starting condition of the photo.
If you are looking to achieve even more of blurred background with your iPhone photos, you can also do so with Snapseed under the “lens blur” tool.
They also have a wonderful tool called “glamor glow”. It gives skin an airy and flawless feel. Use is sparingly though. It can easily make your photos look over-edited and very fake.
Here’s an example photo that I edited using ONLY the above mentioned adjustments (minus lens blur)
Top Photos to Take Before Leaving the Hospital
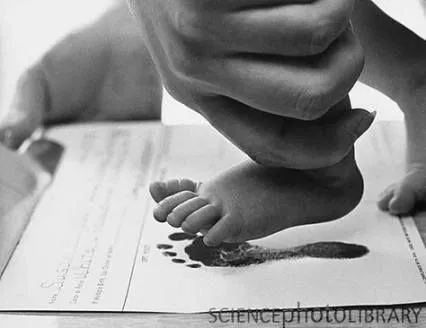
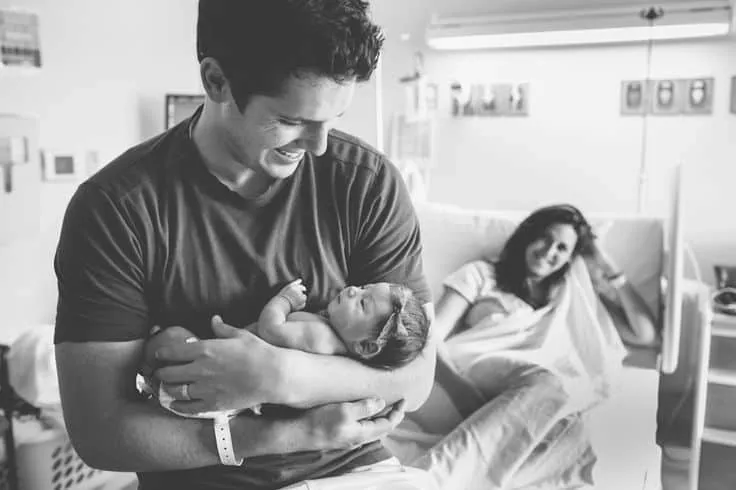
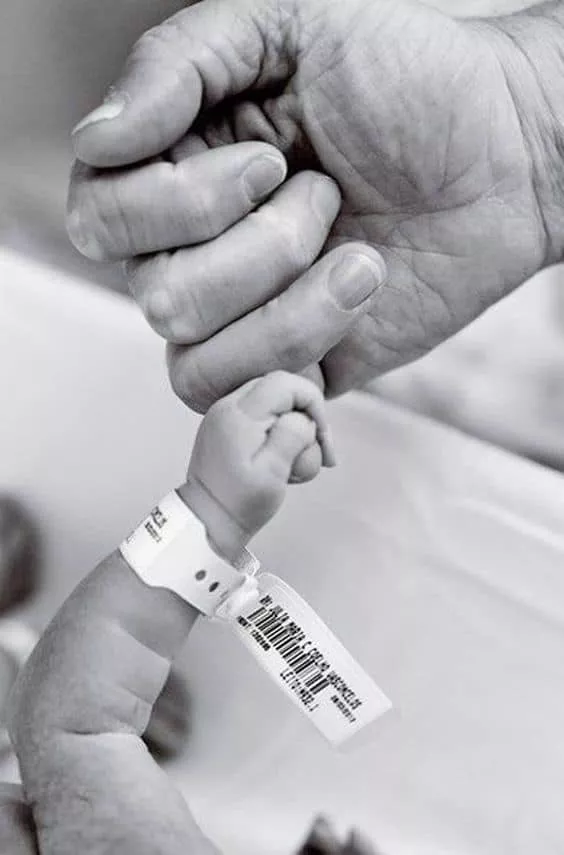
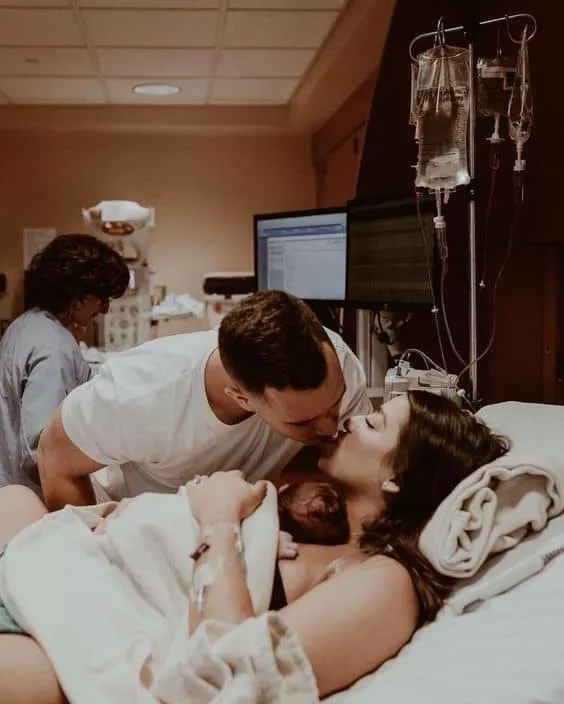
Now that we’ve gotten all the tips out of the way, here’s a look at some of the top photos you should take before leaving the hospital with your newborn baby.
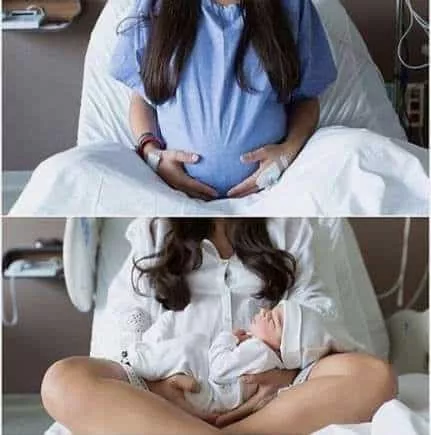
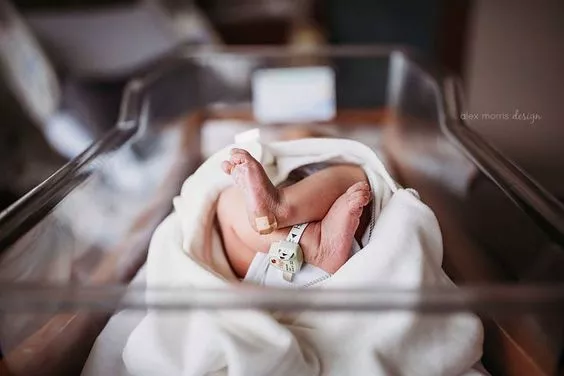


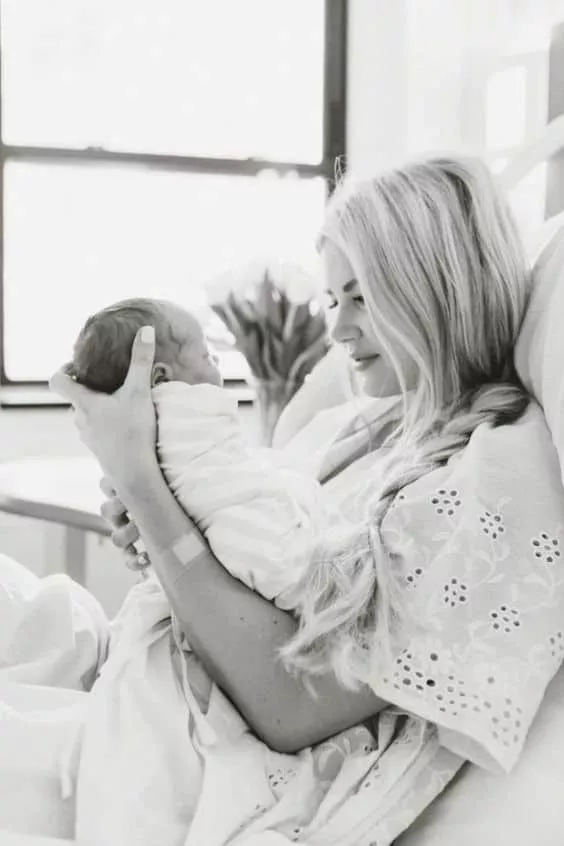
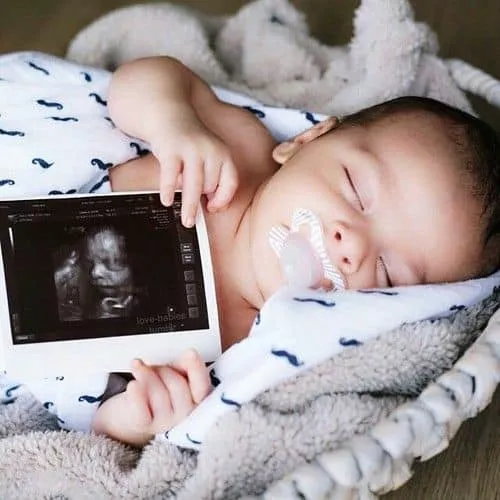
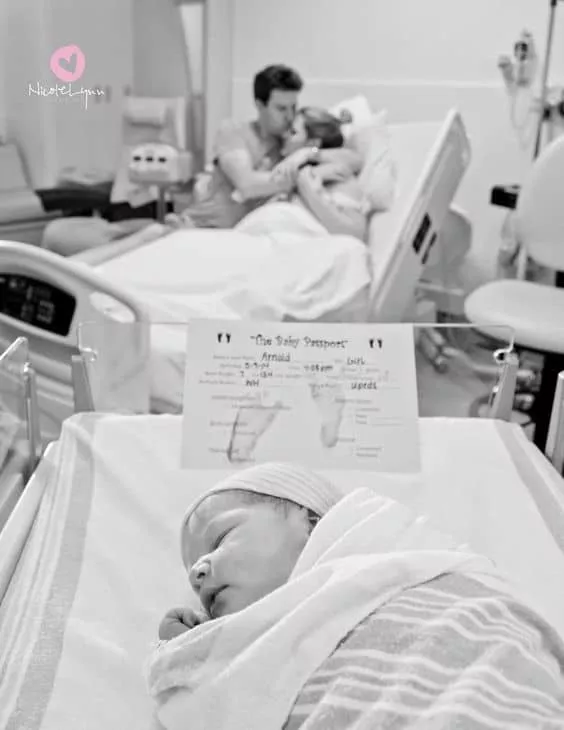
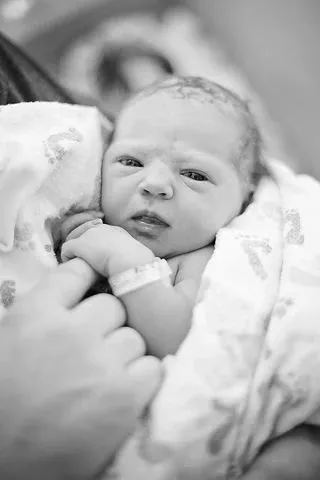
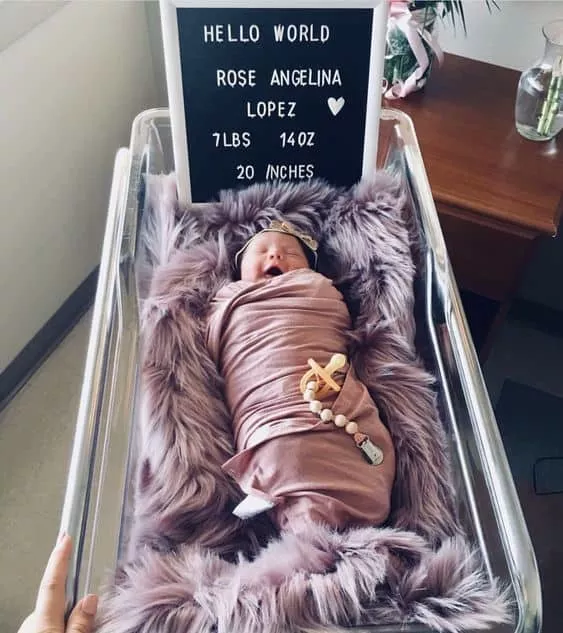
Image Via Pinterest
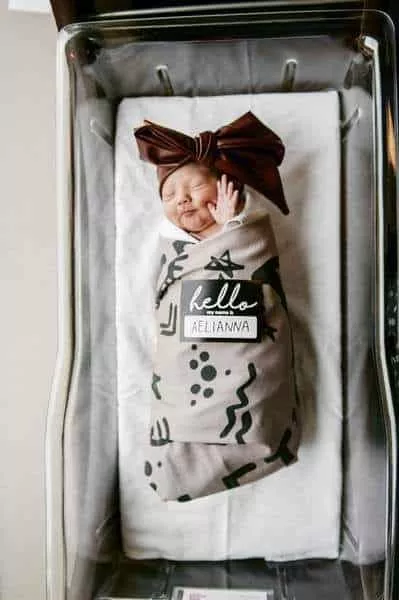
Image Via Little and Luxe