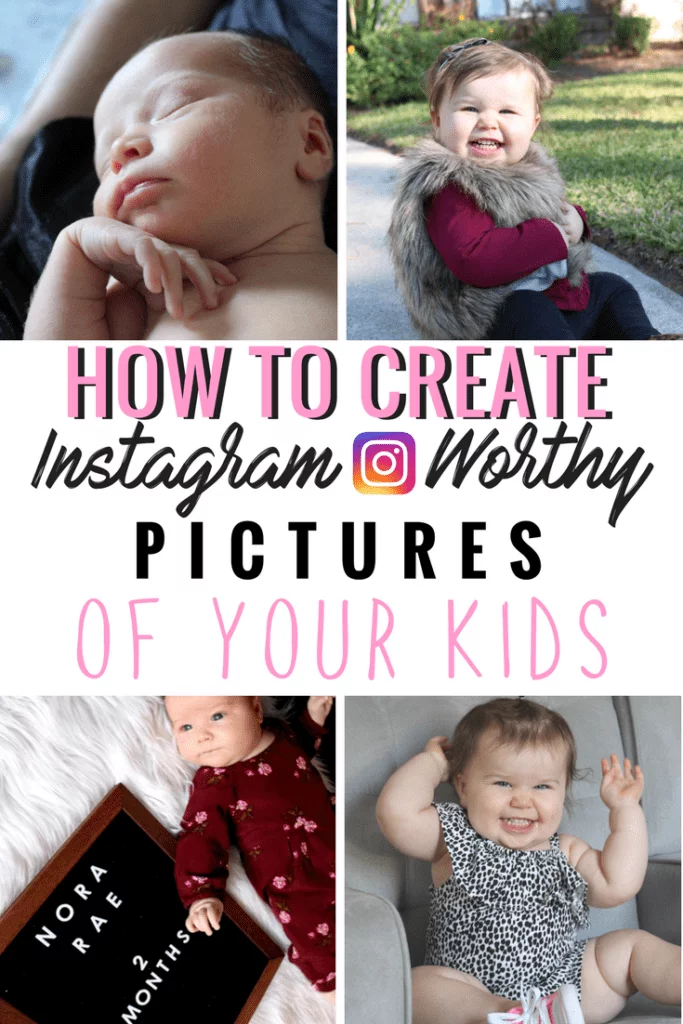
How to Take Better Pictures of Your kids
It is crazy to think that Emmy is almost 18 months old.
Over the past year and a half, I have taken HUNDREDS if not thousands of photos of my daughter.
I realized early on that my skills could use some help. A majority of my photos were not worthy of sharing. The lighting was bad, the focus was off and they just didn’t really seem eye-catching.
So I invested in some much-needed tools. And I also found some amazing FREE ones.
If you follow me on Instagram you can probably tell I have upped my game a bit in the past few months! I’m no pro, but with the proper tools, my photos have really kicked it up a notch!
The Best Camera for Beginners
I started out with taking photos with my iPhone and still do on occasion. However, about 3 months ago, I decided I wanted to really invest in being able to take better quality photos.
While the iPhone was doing its job, I didn’t feel the photos were great enough quality to print and frame so I bought a DSLR camera.
Navigating a fancy-shmancy camera was so intimidating to me. I was nervous to spend a lot of money on a camera without knowing if I was going to be able to use it. I did a TON of research on which camera was best for beginners and read a lot about the Cannon Rebel T6.
It seemed to be what everyone was flocking to when trying to break into the world of better photo taking. The Amazon reviews had some example photos that new users had taken with their camera and they were impressive. But still- my experience with these kind of cameras was not positive and I was really worried I wouldn’t know how to use it.
Luckily, there is this awesome tool on the internet that I refer to religiously to help me out when I have no idea what I am doing. It’s called YouTube.
To get an idea if the Cannon Rebel T6 was amateur-friendly, I watched a ton of YouTube How-to’s BEFORE ordering it. I was sold. I knew which functions I would want to shoot on before the camera even arrived. The day it came, I turned it on, set it to Av (more on that below), and snapped this photo. ON MY FIRST DAY!
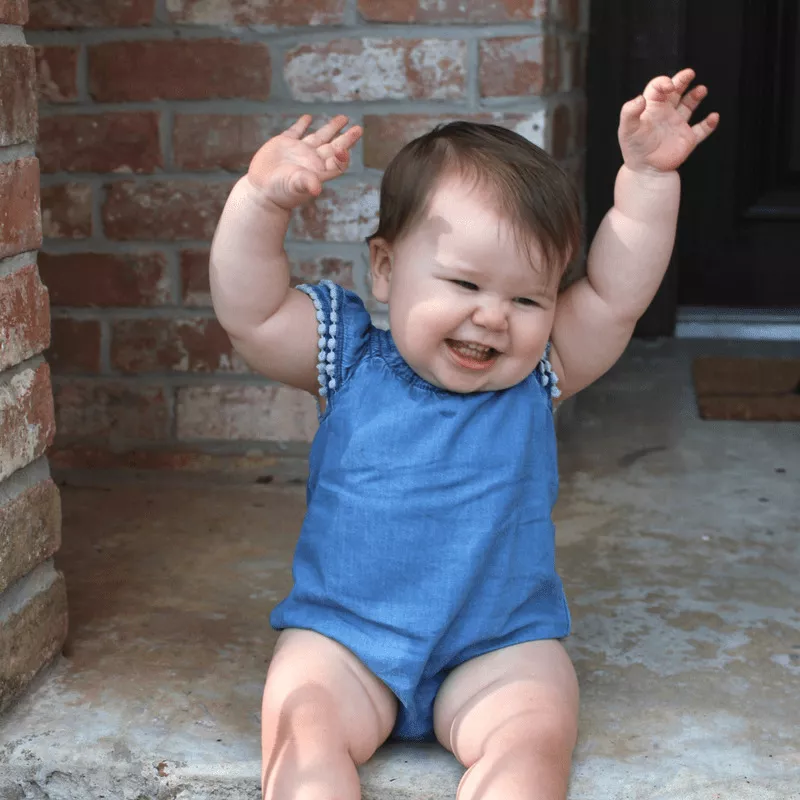
This was the first photo I also had professionally printed and framed for our home! I now have dozens that I took myself hanging on the walls. It makes it just a little more special that I captured these moments!
You can check out the full details of the camera package here. It came with everything: A camera case, tri-pod, 2 additional lenses (which I have yet to master, but soon!), 2 memory cards and so much more.
One of my FAVORITE functions of this camera is the app. You can download the Cannon camera app and do remote shooting from your phone.
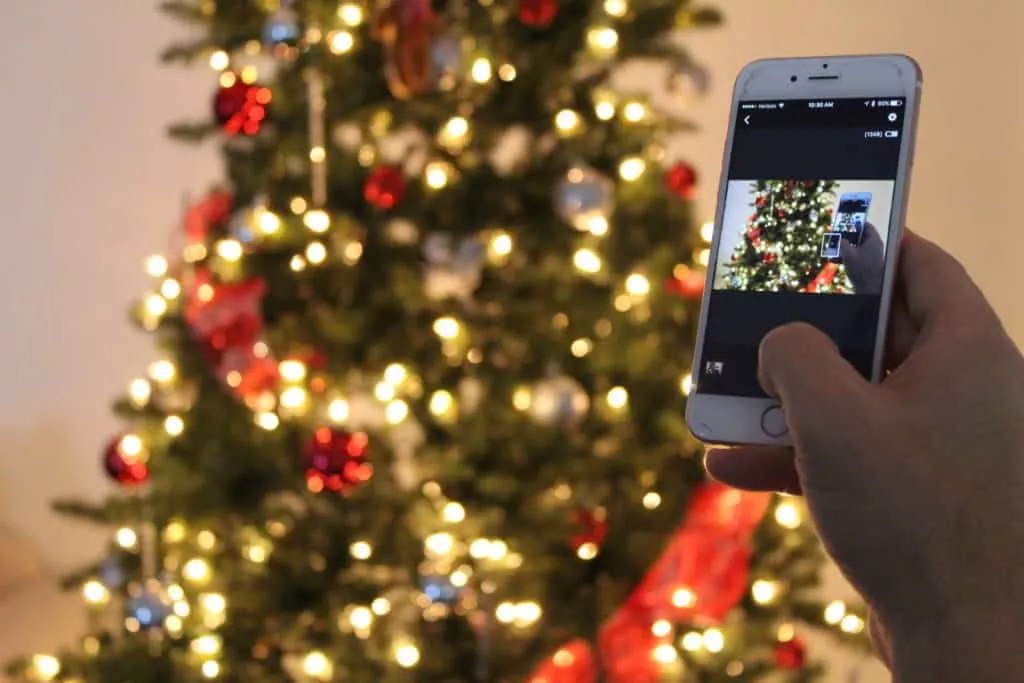
How cool is that? You can easily set up the tripod, get the whole family gathered for a photo, see the photo on your phone and even hit the SHOOT button! It doesn’t get any cooler than that!
How To Take Better Pictures with your iPhone
Lighting
This is the foundation for any good photo, iPhone or DSLR. Natural light trumps artificial light any day of the week.
Take a look at the two photos below. One was taken at night with overhead light and one was taken with my baby’s face turned directly towards a window.
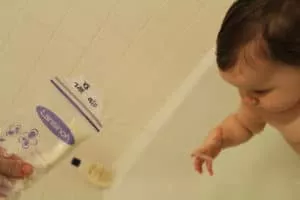

Isn’t it amazing what natural light can do?
Natural light doesn’t necessarily mean DIRECT sunlight. This can lead to shadows being created (mainly on faces) and half-closed eyes from our kiddos!
So get outside, pull l back the curtains and let in that light!
You’ll be surprised how big of a difference it can make!
When it comes to flash, avoid at all costs. In my experience, it is easier to edit a slightly darker photo by adjusting the brightness than it is to doctor an overly lit photo with a flash.
In the case that your lighting isn’t ideal, check out the section below that offers details on editing!
Use a Tripod
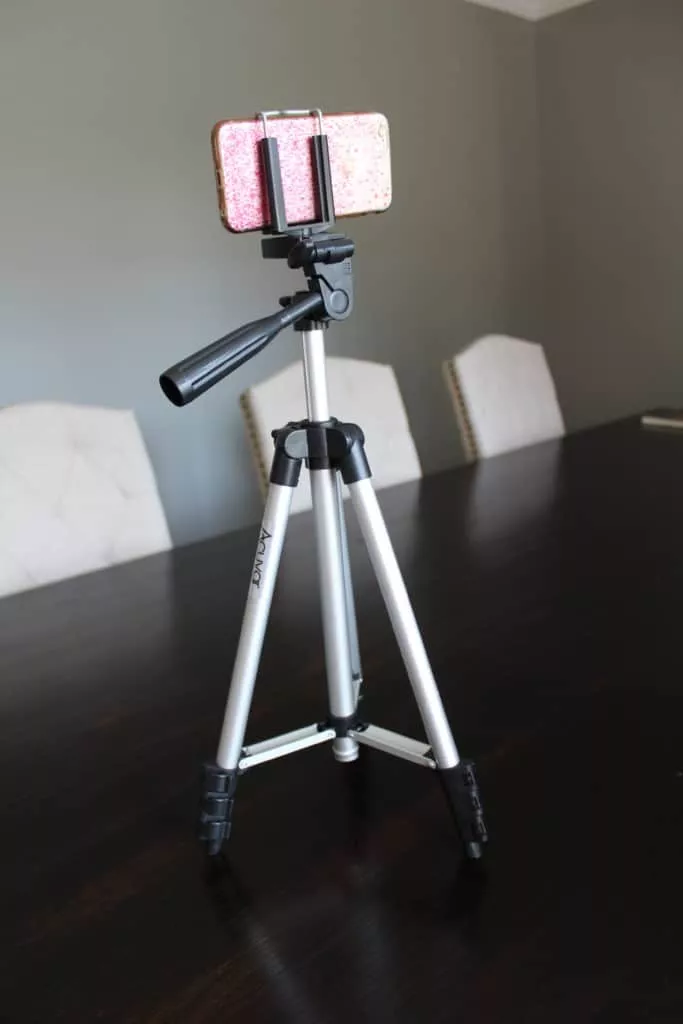
More mamas need to be on the OTHER side of the camera with their babies! I can’t tell you how much I depend on a tripod, for both my iPhone and DSLR.
I ordered the tripod below for Amazon for a great price. It folds up super small and comes with a little carrying pack. You just snap your phone in and set the timer! If you need a longer timer, I suggest the Timer Cam app (free!) You can find the tripod here on Amazon.
(Note: the photo above was taken using my DSLR, facing a window, on auto, and ZERO editing! So if you are really looking to take better photos, consider buying a Cannon Rebel t6! I doubt you will ever pay for a professional photographer again!)
Focus
Your iPhone is completely capable of creating a “blurred background”, you just have to learn how to maneuver it.
First of all, play around with the yellow box. When you have your camera open, touch the screen and move the yellow focus box over your desired object. Always try to move your desired subject as far away from the background that you want to be blurred. If you have your daughter stand directly in front of a flowered bush, your camera doesn’t have enough room to work with. Try having her stand 2-3 feet in front of it instead.
If you want to achieve an even heavier blurred background, see the editing section below.
Rule of thirds
Step one to mastering the rule of thirds- turn on your camera grid!
You can do this from settings>Camera>Grid ON!
The grid will divide your screen up into thirds. You will notice that there are four places on the grid where the lines cross and make a point. Aim to make one of these your focal point of the photo. For example, in the photo below, Emmy’s face is in the top left connection point. 
This rule simply makes your photos more appealing than if your subject was dead center. It isn’t always easy to get kids to stay perfectly still, but when you can, aim for the rule of thirds!
Editing
While I rarely have to edit photos taken with my DSLR camera, I don’t always have it with my and resort to my iPhone.
Most of my iPhone photos need some sort of cropping and color editing.
My favorite tool to use for this kind of editing is Snapseed (free!!). My goal when editing photos is to make them bright, airy, and vibrant. I mainly work within the “tune image” setting. Here are some of my go-to adjustments:
- Increase Brightness
- Increase Highlights
- Decrease Shadows
- Increase Saturation
How much I am adjusting depends on the starting condition of the photo.
If you are looking to achieve an even more blurred background with your iPhone photos, you can also do so with Snapseed under the “lens blur” tool.
They also have a wonderful tool called “glamor glow”. It gives skin an airy and flawless feel. Use it sparingly though. It can easily make your photos look over-edited and very fake.
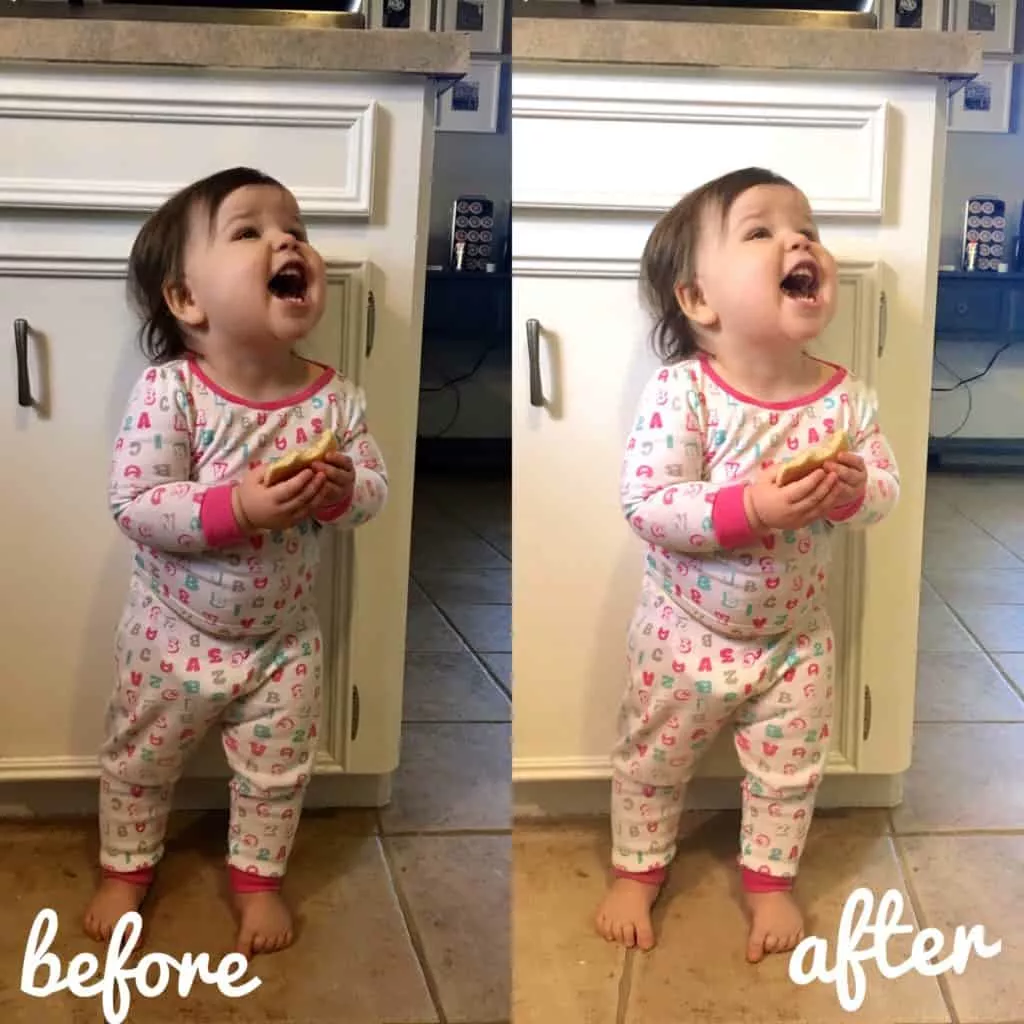
Here’s an example photo that I edited using ONLY the above-mentioned adjustments (minus lens blur)
Creating a Theme for your Instagram
Themed profiles are all the rage these days. While this isn’t something I am to do, I definitely see the draw to it. Snapseed allows you to reuse your “last edits” in order to continue adjusting all photos to look the same.
Another VERY popular app for themes is VSCO. A google search for VSCO will show you hundreds of examples of themed profiles and the exact adjustments they are using.
I hope these tips help you in some form or fashion when it comes to taking better pictures!
Be sure to follow me on Instagram so we can connect!
Read More on Swaddles n’ Bottles: