Want to skip the mushy section on how awesome blogging is and get straight to the instructions on how to start your own blog? Click here
When Emmy was just a few months old, I decided that I wanted to start a blog. Never in my wildest dreams would I ever thought I would be a “mom blogger”! Yet, here I was, blogging my little heart out about all things pregnancy and parenting.
I quickly fell in love with it! I was connecting with mama’s all over the country (even some internationally)! This was better than any job I have ever had. I had a discovered an untapped passion!
The choice to start a blog came with a lot of challenges. I put in a lot of hours, hurdled over a lot of obstacles and questioned if I was crazy for taking on this endeavor! But soon after launching my blog, my efforts started to pay off. I began bringing in thousands of pageviews, then hundreds of thousands. And with that came financial freedom!
While I once thought the luxury of staying at home would be short lived in order to get back dual income, I would now be able to stay at home with my daughter!
As I began networking with other mom bloggers, a few asked me for tips, tricks and insight into my strategy. I was so excited to share it with them! I had experienced the thrill of creating a blog and watching it grow into a success and I wanted to help them experience it too!
I quickly recognized this feeling I was having: it was passion! I was crazy obsessed with helping others grow their blogs.
Ready to Start Your Own Mom Blog?
Whether you are hobby blogging or business blogging, it’s important you are setting yourself up for success from day 1! Here are the first three crucial steps to setting up your new blog:
- Pinpoint your niche.
- Pick your blog name.
- Set up your blog with a reputable host that provides great options to secure your site.
Pinpoint your Niche
Your niche is your target audience. It is the group of people you want to reach and attract to your cite.
Chances are, as soon as you decided to start a blog, you already knew what topic you wanted to write about. If you aren’t sure, take some time to reflect on what you are both knowledgeable and passionate about.
If you need more help pinpointing, you can download the Business Blogging Blueprint. It has a “Picking your Niche” worksheet.
Picking your blog Name
Your blog name says a lot about you (and your blog)! Be unique! A fun play on words is always a great way to help people remember your blog name. Make a fresh cup of coffee, pen and paper and start a brainstorming session! Get your partner or best friend in on it and talk through ideas. Once you’ve got a good idea of the direction you would like to go with your blog name, let’s make sure it’s available by following the steps below to sign up with BlueHost.
Set Up Your Blog with a Reputable and Reliable Host
A quick reference before we jump into this next section:
Your domain is the address visitors will type in to get to your blog.
A hosting site is a company that provides the services for your blog to be the internet.
WordPress is the online tool you use to design and publish content for your blog.
A website host if the company who makes your website available on the internet. I’ve been with BlueHost since Day 1. I have added so much content to my site in the past year and have never experienced a slow down or glitch in the site. Plus, traffic is growing by the month. Other hosts make you pay based on visitors and as you get up there, it can get pretty pricey.
I can’t tell you how much I have come to value the BlueHost Live Chat function. If you could only see some of the questions I have asked them….
“I received an email that I need to update WordPress… how do I do this?”…
“all my blogging friends are talking about having something called a ‘security certificate’, Do I have this? Can I get one?”
I would literally be LOST without them! They are so patient and really have gone above and beyond to help me find my way through the technical stuff!
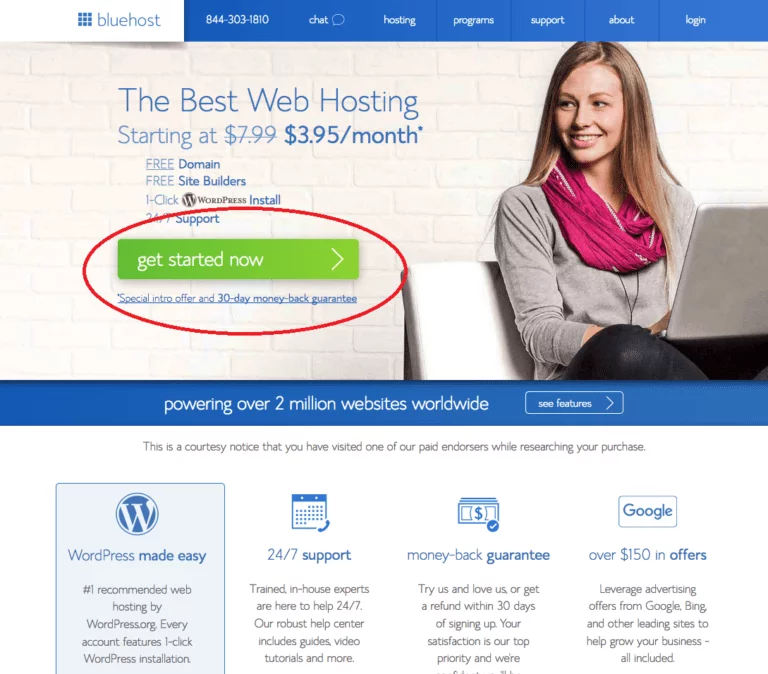
Get Started
To get started with BlueHost, Click here or the Green Get Started button below. The sign up process will open in a new tab so you can still refer back to this page for sign up instructions.
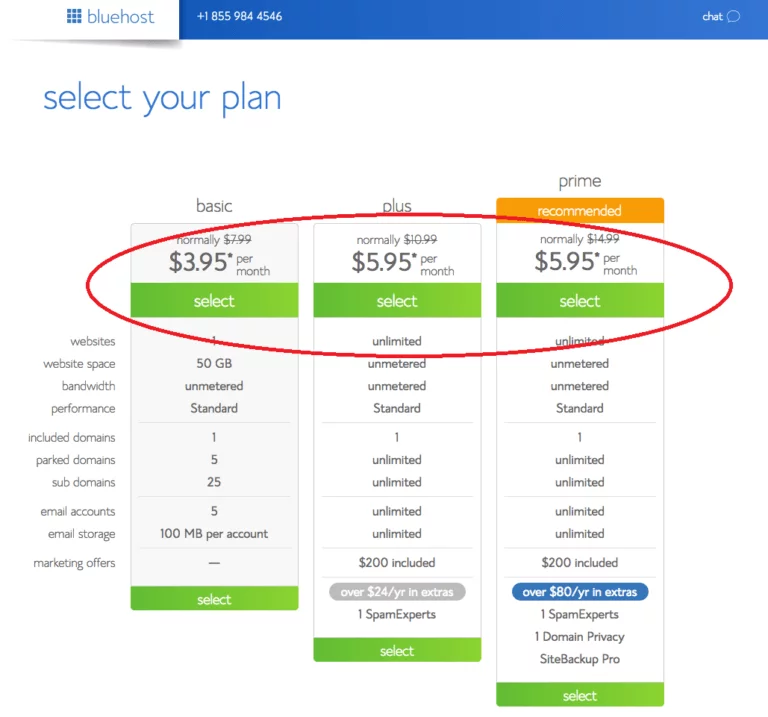
Select a Plan
BlueHost offers a variety of plans. Read over the features and select the one that works best for your budget.
Sign up for your domain
This is the most exciting part of this process. Let’s check to see if the domain you want is still up for grabs.
(psst… and if it isn’t don’t be discouraged. My original blog name wasn’t either and it ended up working out better for me!)
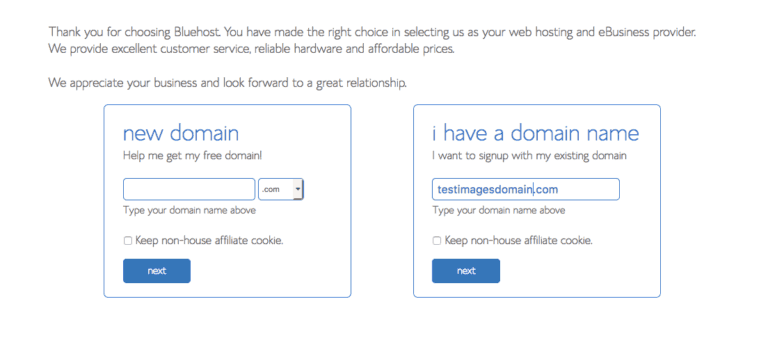
Tip: Always go with .com. Your blog name should be easy for followers to remember and .net, .co or .org are not the assumptive ending to a domain by most people.
Once you have your domain name, grab it before it’s gone! The next step you will need to complete to secure it is your account information.
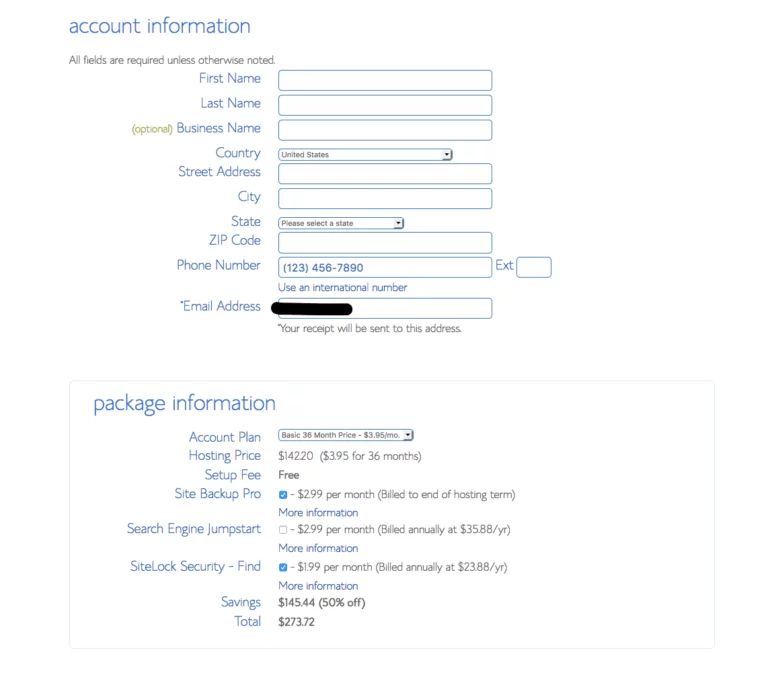
Hosts bill on an annual basis which is EXTREMELY convenient for bloggers. You can select to pay for 1, 2 or 3 years up front. I went with just 1 year when I first signed up. You can adjust the time frame on the top drop down under “account plan”.
Read up on the “extras” before moving forward.
Next, you will need to enter your billing information:
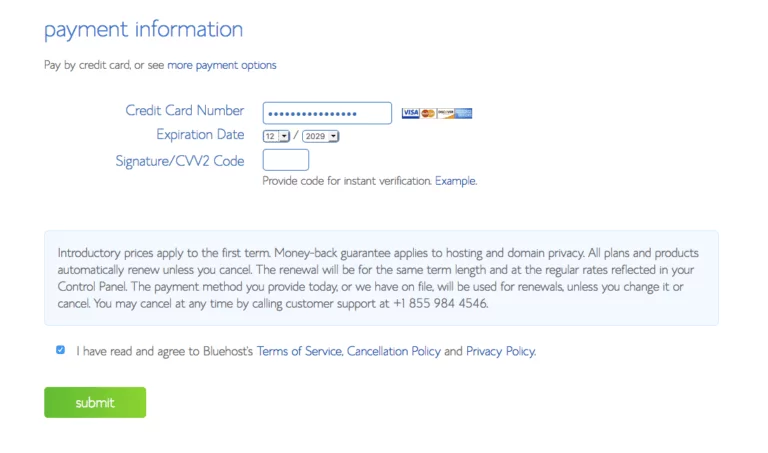
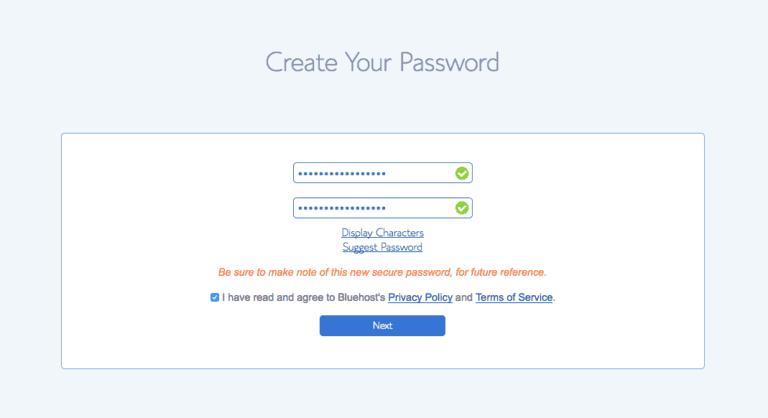
Once you’ve completed this, YOU OWN YOUR DOMAIN! CONGRATS MAMA! Create your password so you are able to access your account:
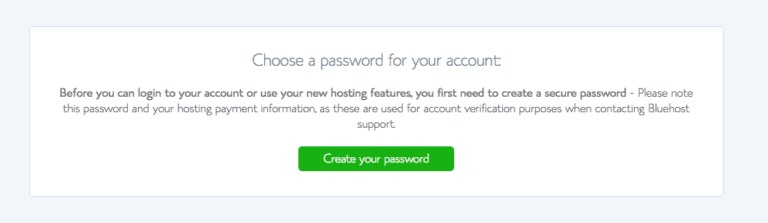
You will also receive an email from BlueHost to confirm and activate your domain. Be sure to do this crucial step as well!
Ready to jump into the technical stuff? Let’s dive into getting WordPress installed on your Website so you can start designing, writing, sharing and blogging your little heart out!
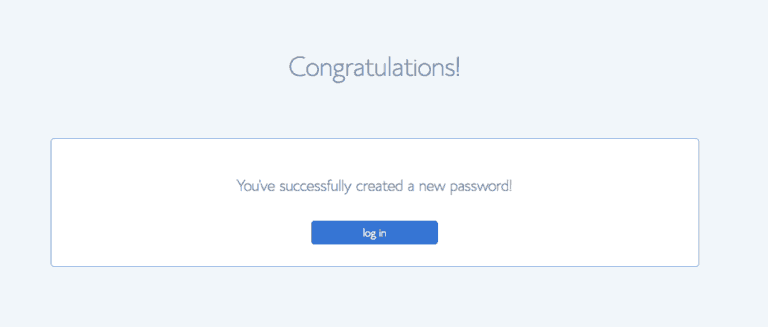
Once you have set your password, you will be given the option to log in.
From here, BlueHost will ask you to choose a theme. I suggest you do not take on this task right now. There is a pre-installed theme on WordPress that will do the job while you are still discovering and creating your brand. You might not know EXACTLY what you want your site to look like yet visually. Once you have a basic idea of your brand, you can pick a theme. So click “Or, go to my BlueHost Account”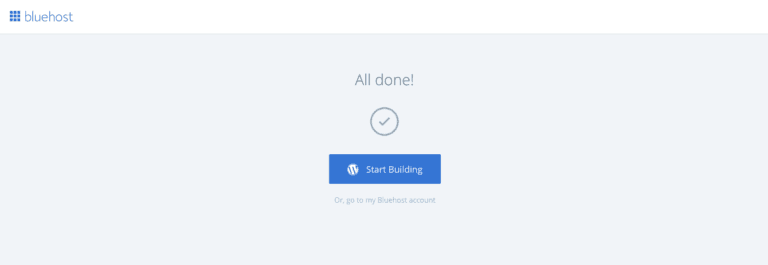
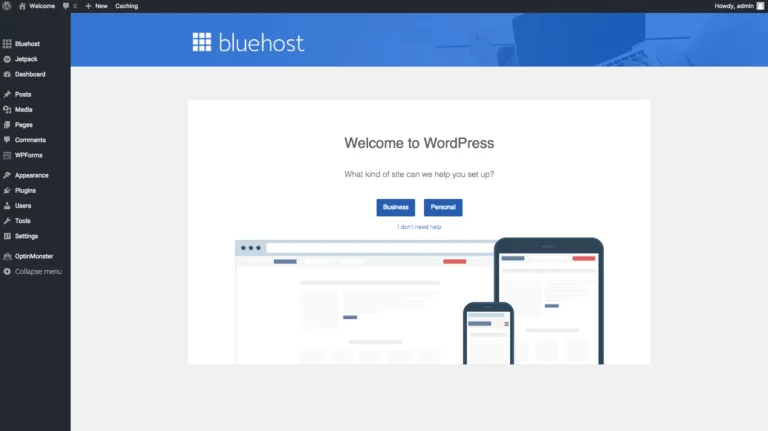
Next you will be taken to your WordPress Dashboard (AKA your new best friend). Every day from here on out in your blogging career, this is the screen you will come to when you log into your website. The Menu Bar along the right side is your main point of navigation through your site.
As I mentioned earlier, you want to make sure your site is secure. Google will be more inclined to put your page at the top of it’s searches if it knows you have taken this step. You will not be able to activate your free SSL certificate that BlueHost provides until your site has been active for 24 hours. Once you’ve passed this mark, view this post on how to activate it.
Let’s start designing! Click here to read about which themes I use and the 10 things you need to consider before installing.
Once you’ve set yourself up with BlueHost, visit the Basics of Blogging so you can download the Business Blogging Blueprint. It’s a free eBook to help you build a solid foundation for your blog, including how to pick and install a theme, how to build email subscribers, how to write great content and so much more!
When you have your first blog post published, you’ve got to download Pinning for Pageviews! It’s step-by-step instructions on how to set up, pin and maximize your Pinterest profile do drive traffic to your site.
Thinking of monetizing your Site? Check out Mastering Affiliate Marketing.