When it comes to feeding your little one, there is no doubt that breast milk is the best choice. With its unreplicable components and ability to help babies fight off infections (plus DOZENS of other benefits), breast milk just can’t be beaten. If you are on the fence about whether to choose formula feeding or breastfeeding, I encourage you to take the online Milkology breastfeeding course. It will not only show you all the benefits of breastfeeding, but it will also really help you be prepared to make breastfeeding a success.
But sometimes, even if a mother chooses to breastfeed, it just isn’t possible. While I don’t want to bore you with my personal story, I planned to breastfeed my second daughter Nora until she was one year old. At 7 months, things took a turn and before I knew it, we were a formula feeding the family. Now trust me, I tried EVERYTHING I could think of to repair the issues we were having, but after two months of both of us struggling, it was truly what was best for my baby and for me. This was a perfect scenario where FED was best.
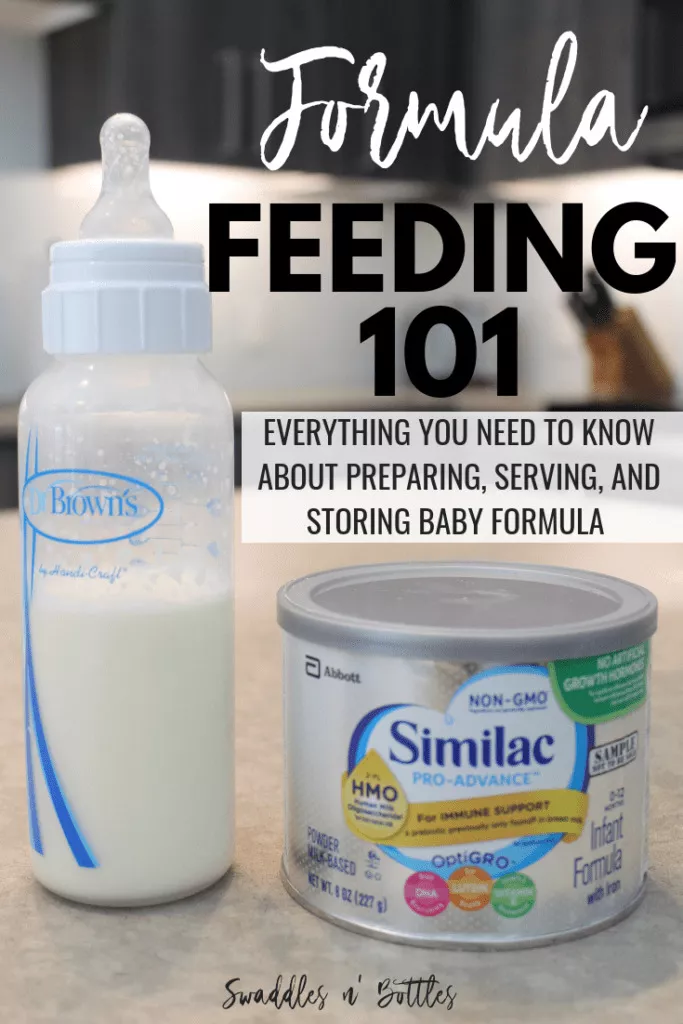
The first task we took on as this change happened was selecting our daughter’s formula. I had no idea there were so many choices out there. And while I am not here to tell you which one you should buy, I can offer some guidance in the selection process.
First of all, there are 3 different forms of the formula:
- Powdered- The least expensive kind, but also takes the most work. Will require measuring and mixing at each feed, although you can premix a batch and refrigerate for 24 hours (more on this below). This is the form of formula I have chosen for Nora.
- Liquid concentrates very similar to powder in that it has to be mixed with water, but it comes in a liquid form. Some say it’s better because there is less mess, however it is more expensive than powder.
- Ready to serve This is by far the easiest, but most expensive. There is no measuring and mixing, but containers must be refrigerated after opening(meaning you must heat before serving) and must be used within 24 hours. This is what you could call the “safest” form of formula feeding since there is little risk of contamination or error since you simply open and serve. If you are supplementing and only using a small bit of formula a day, this would probably not be the best choice as you may not use the entire container in 48 hours. Meaning you’d be throwing out the most expensive type of formula!
When it comes to selecting the formula:
- Start with talking to your pediatrician. They may be able to save you a ton of time searching the internet and be able to tell you which one they believe is best. They will also know of any conditions or needs your baby may have and what formula will best meet them.
- Start with regular cow’s based milk. Unless otherwise directed by your doctor, there is no need to go for anything outside of the normal cow’s milk formula (such as soy or lactose-free)
- Select a formula fortified with iron, unless otherwise directed by your doctor.
- Watch for signs of discomfort in your baby. If you have any concerns, contact your pediatrician’s office.
- Reach out for help. Chances are, you know a mom of two who has had to make this same decision. Ask them for recommendations on which brands they felt worked best for their baby, but also keep in mind that all babies are different.
How to Prepare a Bottle of Formula
When it comes to preparing baby formula, you have two options: you can make each bottle as the baby needs it, or you can make it in bulk and store it in the fridge.
First, let’s go through making an individual bottle.
No matter which way you are preparing, always start by washing your hands. Germs from dirty hands can easily be passed to formula and then to baby.
If you are using powdered formula, you will need to prepare it according to the directions on the back of the formula container. With most brands, you mix 1 scoop for every 2 ounces of water, but this can vary.
Start by measuring the proper amount of water in the bottle. Next, scoop the corresponding amounts of formula into the bottle. Always use the scoop that came with the formula to measure.
If you are not sure how many ounces you should be feeding your baby, here is a handy little chart. If you’d like, you can enter your email below and I will send you a PDF copy of it that you can print out and put on your fridge!
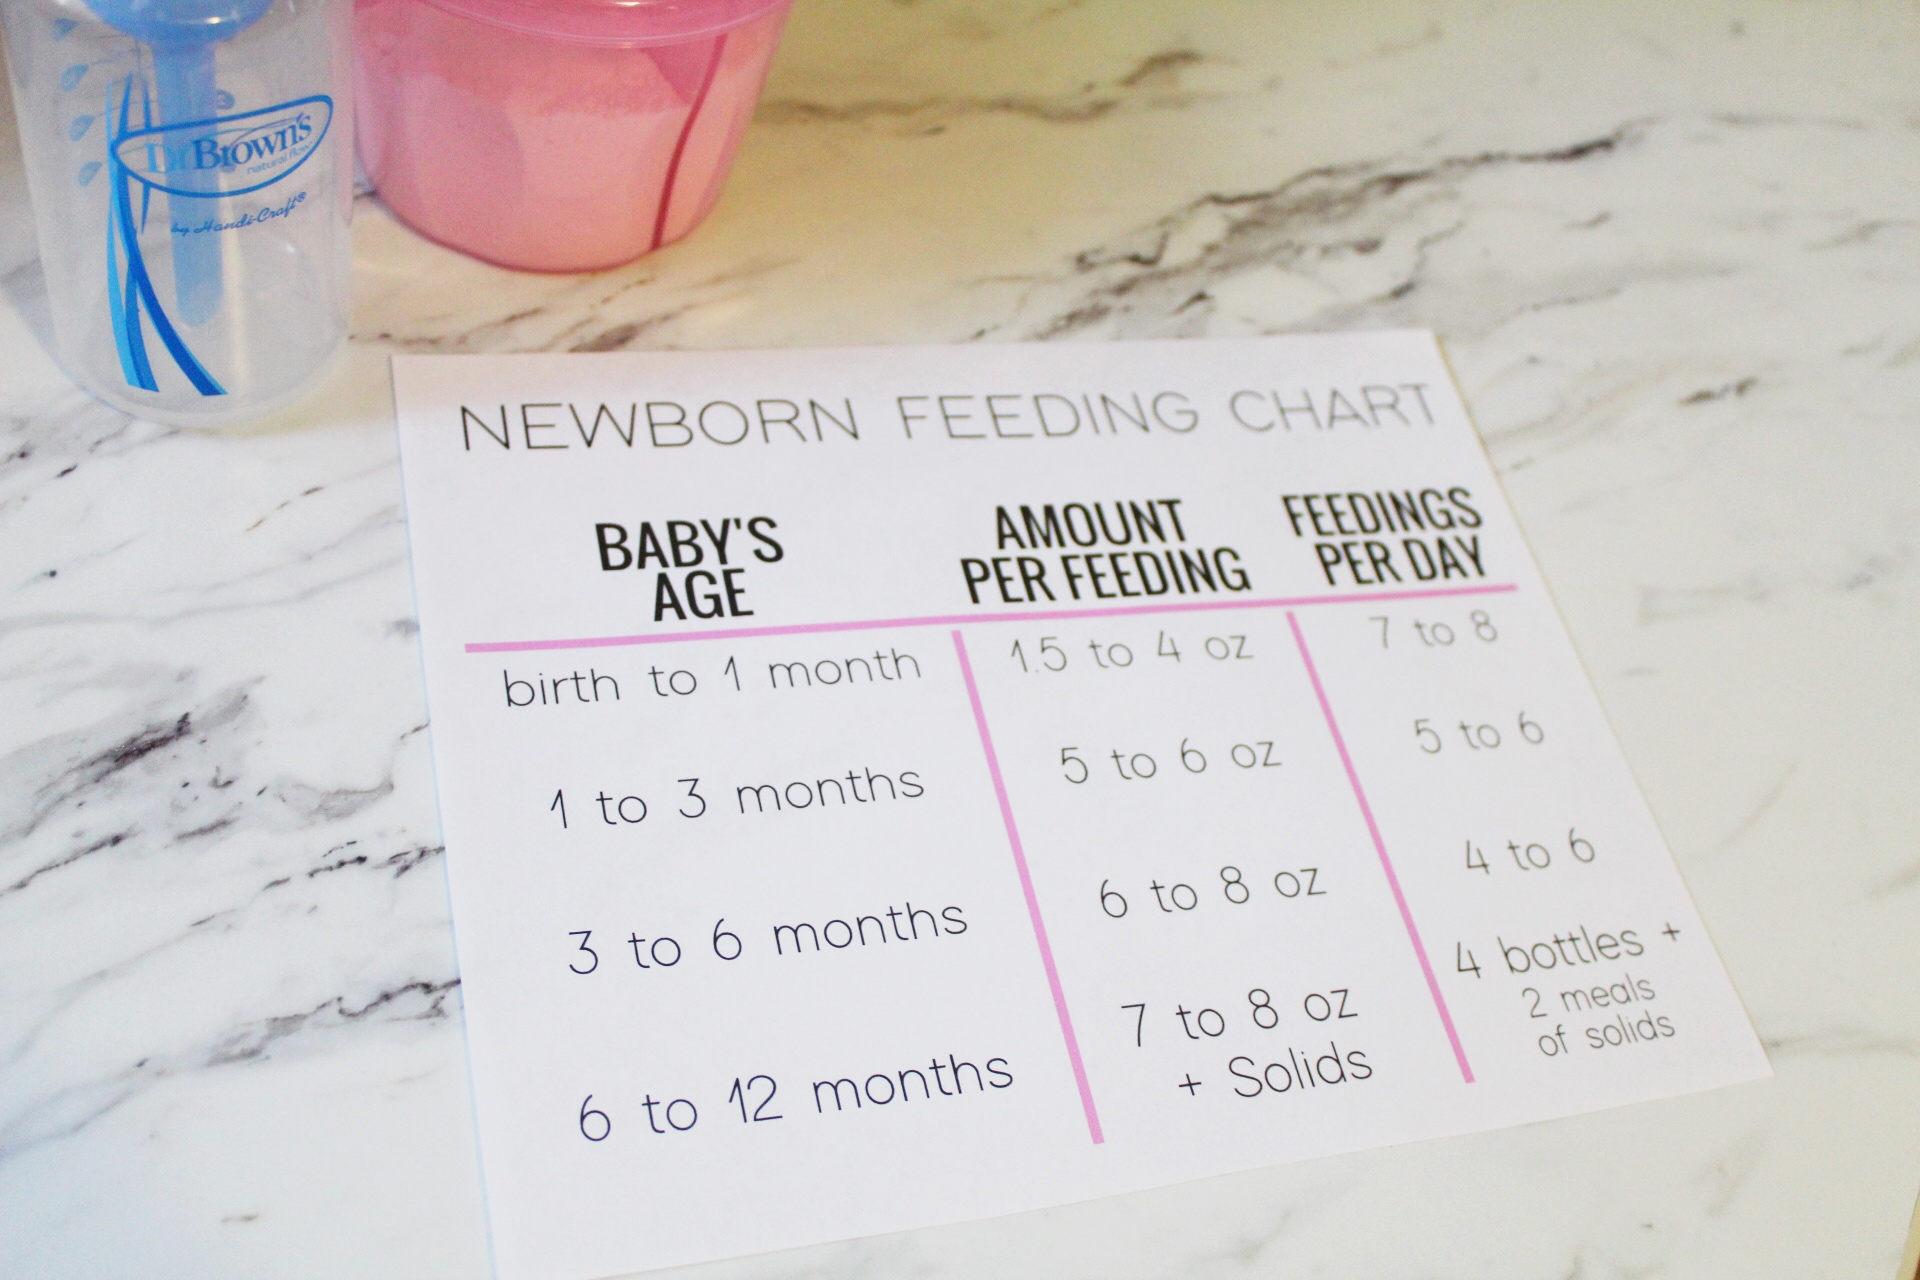
![]()
Based on their age range, start with the smaller amount. If baby finishes the entire bottle 3 times in a row, consider increasing their serving size.
Once you have combined the water and formula into the bottle, place the nipple on and mix. Some mothers suggest to use a combined “swirl and tilt” method to mixing rather than vigorously shaking to avoid bubbles. Those extra bubbles will mean extra gas for baby. It may take a little bit longer to get it fully dissolved, but it will be worth it to avoid the fussiness of a gassy baby! If you are really concerned about it, you could purchase a handheld formula mixer. They are relatively inexpensive and give you peace of mind that you are not causing your baby any discomfort.
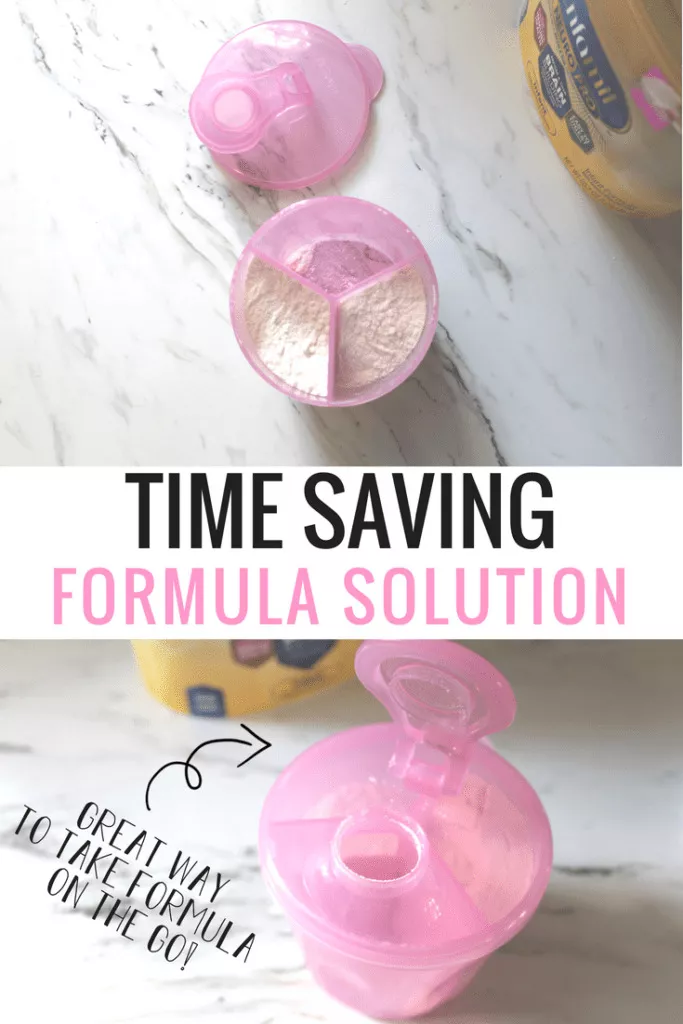
In order to save time when making baby’s bottles, I like to use Dr. Brown’s baby formula dispenser. I pre-measure out the 3 scoops of the formula for Nora at the beginning of the day and just dump one compartment of formula in when it’s feeding time. It also makes it super easy if we are running out the door and I know Nora will need a bottle soon. You can order the formula dispenser here on Amazon (also comes in blue).
If you are using RTS formula, you can pour the formula directly from the container to the baby’s bottle. If the formula has been stored in the fridge, it will need to be heated (more on that below).
You’ll hear me say this a few times in this post, but it’s so important to know… Any formula that your baby does not finish within 1 hour of heating and/or serving needs to be thrown away, no matter what type it is.
Making Formula In Bulk
If you choose to, you can make a day’s worth of baby formula and store it in the fridge. The powdered formula can be stored in the fridge up to 24 hours after it is mixed. However, once it is heated and served, it cannot be re-refrigerated and re-served. Remember, any formula that your baby does not finish within 1 hour of heating and/or serving needs to be thrown away.
The best tool I have found for making large quantities of the formula for storing is Dr. Brown’s Pitcher.
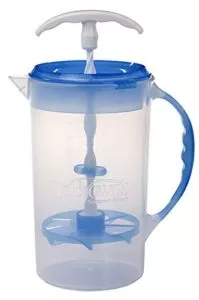
The pitcher can hold up to 32 ounces of water which is the perfect amount for 1 day of bottles! The blade in the bottle is the perfect way to mix the formula without creating the air bubbles that usually come from shaking the bottle. You can read more about the pitcher and other mothers’ reviews on the product here.
Selecting Safe Water for Baby’s Bottle
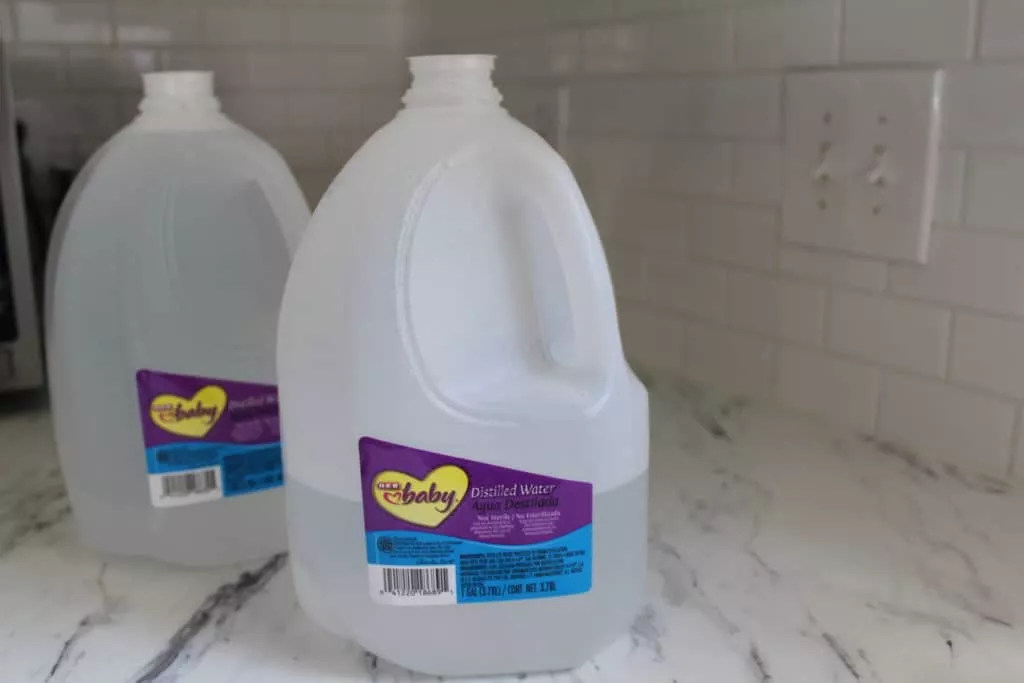
When it comes to selecting the water for your baby’s bottle, you want to be sure it is safe and toxin-free. Distilled, filtered, and/or bottled water are highly suggested to use if you are not confident that your tap water is safe. Most grocery stores have gallon-sized containers of water in the same section of the baby food that are labeled as safe for mixing. I’ve found them for $1 at my local store and Walmart. That’s a very small price to pay to know that your baby is getting the best water for them.
The Best Bottles for Formula Feeding
Before my first daughter was born, I did hours of research on baby bottles. I knew how much of an issue baby gas could become if bottles were causing too many bubbles to get into their tummy so I wanted to be sure I was selecting the best. In the end, the research supporting the Dr. Brown’s baby bottles made it clear that it was the bottle we wanted to use.
Dr. Brown’s baby bottles feature an internal vent system that helps reduce colic, spit-up, burping, and gas by eliminating negative pressure and air bubbles. It also helps preserve vitamins C, A, & E by minimizing oxidation of breastmilk and formula, and provides vacuum-free feeding similar to breastfeeding. There are a ton of videos on the Dr. Brown’s website that show why it works so well.
There are a variety of sizes in Dr. Browns Bottles. When it came to preparing for the baby, we purchased 4 4-ounce bottles and 4 8-ounce bottles. I now wish we would have gotten more 8 ounce bottles!
Now let’s talk baby bottle nipples. There is no clear-cut time when you baby should move to a level 1 flow to a level 2 flow. Nora is 7 months old and still uses level 1. Emmy was already at level 2 by 6 months because she was just a more aggressive eater. According to Dr. Brown’s website, a few signs that your baby is ready for the next nipple are: falling asleep while eating, getting aggravated while eating, and/or taking a long time to finish eating. If you are not sure which flow to start with, start low and work up. Here is the suggestive chart is given on the Dr. Browns’ website.
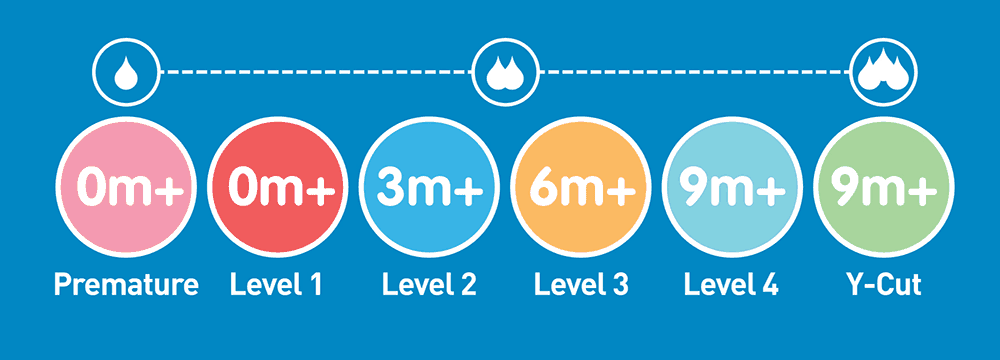
Photo credit: Dr. Brown’s
A few precautions to take when giving your baby their bottle: if baby is not old enough to hold their bottle on their own, DO NOT prop it up for them. This can cause a variety of issues, including ear infection and the risk of baby choking. Even if baby can hold their bottle up, you should always remain close by and supervise them while eating.
If you are having trouble getting your baby to take a bottle, read our full guide to bottle-feeding a breastfed baby here.
How to Properly Heat Formula for Baby
In the case that you are using Ready to Serve formula or you have pre-made a bulk batch of formula, you may to heat it before serving it to baby. The topic of whether or not formula needs to be heated is much discussed. For mothers who have previously breastfed or are still BF and supplementing with formula, a warm bottle will be a more familiar temperature for baby. Some mothers also feel as though the warm bottle is more relaxing for baby. However, if your baby prefers it and does not show any stomach discomforts from it, it is ok to give it to them cold.
The easiest and safest way to do warm the formula, if you choose to, is with a bottle warmer. Just like the baby bottles, I did ALOT of research when it came to warmers. I chose the Kidee Koozie for a few reasons.
The Kiinde Kozii warmer creates a mini hot tub for the baby bottle. It completely surrounds the baby bottle in warm water, reducing the chance of there being any hot spots. One of the biggest things I liked about it was that you did not have to add water at each use. The water stores in a reservoir and rises up around the bottle once warm.
It was also one of the few bottle warmers I found that was compatible with bottles, baby food pouches, baby food jars, and a variety of baby bottle sizes. Added plus- no assembly. I’ve heard horror stories of bottle warmers arriving in two dozen pieces with a 15-page assembly manual. Can you tell that I just love this bottle warmer?! I’ve had it for close to two years now and it has been worth every penny! You can find it here on Amazon.
If you want to skip the bottle warmer, you can run baby’s bottle under warm water until the milk is at the right temperature. Determine this by putting a small drop on the inside of your arm. If the liquid is still cold on your skin, give it a few more minutes. If it is too hot, let it sit out for a few minutes to cool. Pull the milk out from under the water frequently to test to avoid it getting too hot.
More Read for Mamas: